How microfossils were collected at Site #1
As previously noted, most road cuts are off limits to diggers. We are granted rights to surface collect in many roadside areas (not interstates or major state highways) but signs of digging have caused us to loose the right to surface collect on several occasions.
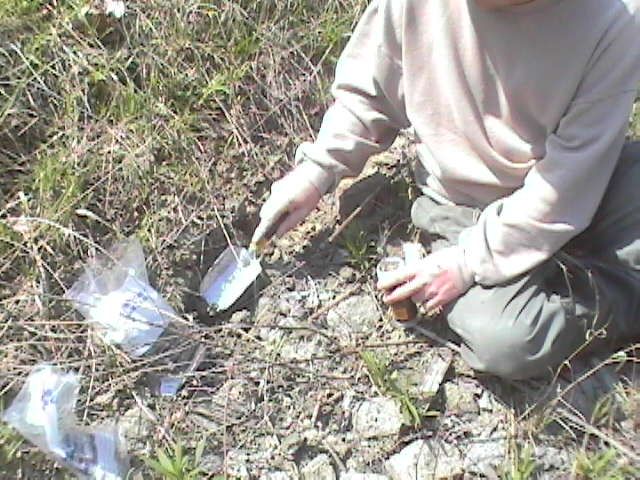
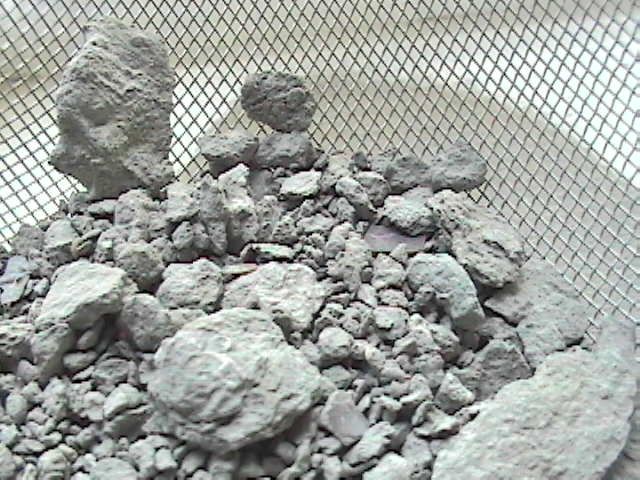
Collect clay from the surface of an area that has not been covered up by falling
rocks and debris of the road cut. Locate clay that is stratigraphically in
place. You can sometimes tell this if the clay is clearly in layers. Use a hand
trowel or other light scoop and place some clay in a bag or bucket. LABEL THE
BAG. You will need to sample several spots on the site and after you clean the
clay and examine the material with a microscope or hand lens, you will be able
to note which spots had the best microfossil clay.
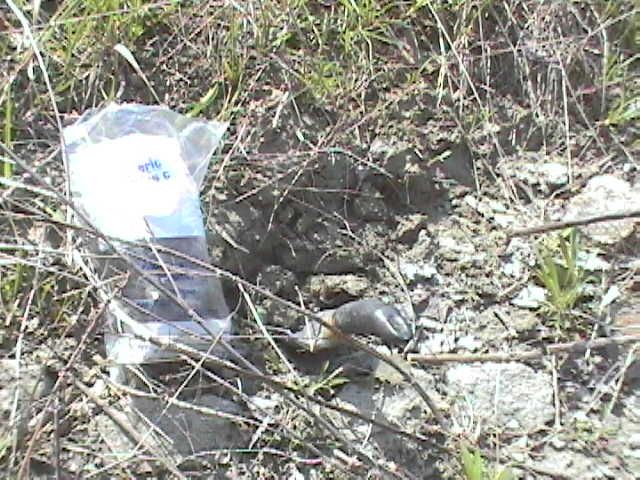
After putting the clay in the bag, if you don't have a pen with you, leave the
bag on the spot where you collected it and come back with the pen. In this way,
you won't wind up back at the car with a bunch of bags and not know which spots
they came from. I make this mistake too often.
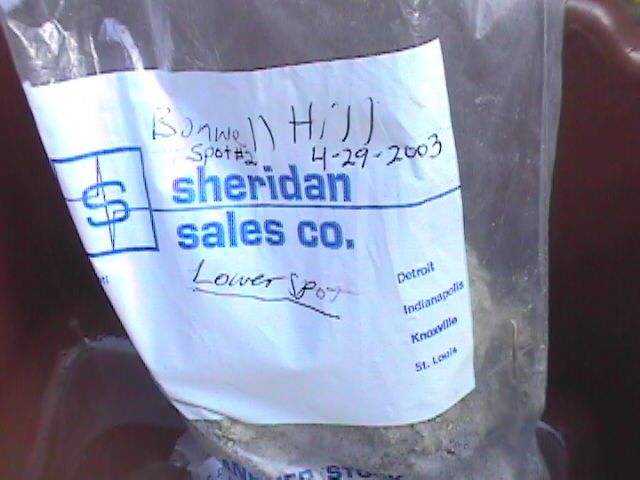
Label the bag with the name of the site, the date, a description of the exact
spot and a number you assign to the spot. You can record other information, if
you have time and knowledge, such as the formation/member name, city,
county, etc.
At home, store the bags until you have time to enjoy extracting the microfossils. Use a dish pan or other type of tub. Dump the clay into the pan and add water. There are lots of individual techniques, but I use the garden hose on a soft setting.
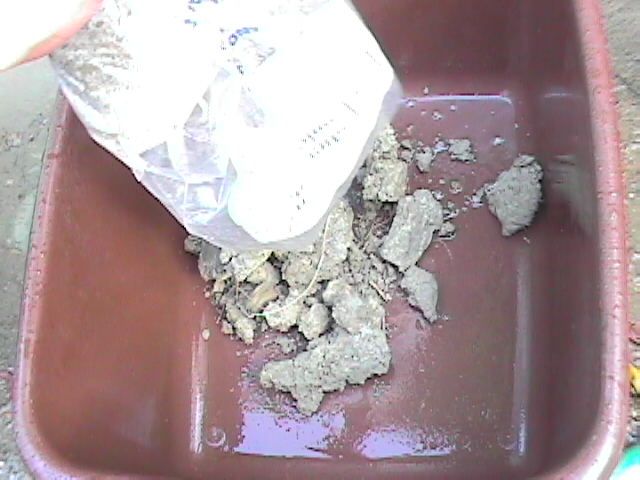

Put an ample amount of water in the tub. Stir it with your hand to get the process started and let it sit and soak to dissolve the mud (mud is water soluble) and clay (clay breaks down in water over time). The amount of time you want to let it soak depends on the type of clay you have. Some material I've washed only requires a few hours, while the Brookville material, I allow to soak for at least 3 days, changing the water at least once a day.

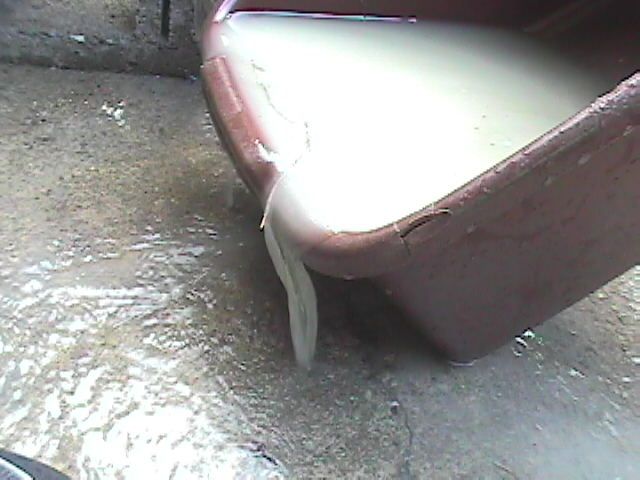
To change the water, first agitate (stir) the water with your hands to allow vegetation and mud to become suspended in the water. Then slowly tilt the pan, as shown below, to decant only the water and items suspended in it, down the drain or outdoor drainage. If you haven't already found out the hard way, many indoor drains cannot handle mud in large quantities and will clog up. I do my fossil cleaning outdoors.
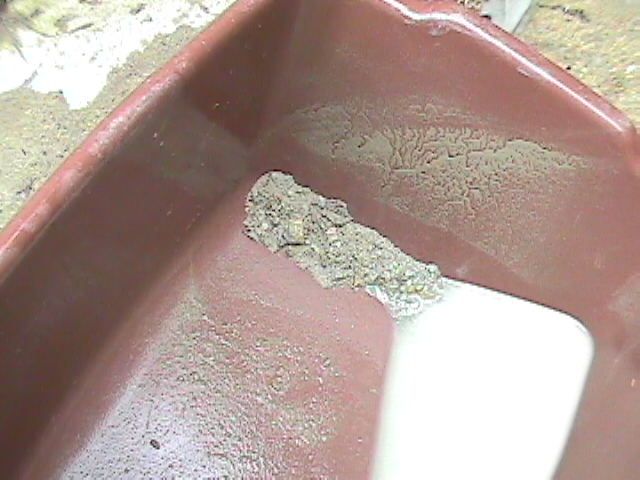
Refill the tub and continue to soak until the fine sandy material in the clay is free from the clay itself. If you still wind up with small balls of clay, you may need to boil the water with the clay for as long as a half hour. This will expedite the separation.
When you have a sandy material, poor off (decant) the last bit of water, as shown below, being very careful to leave ALL the fine grained material in the pan. Only poor off water and those things that float (vegetation).

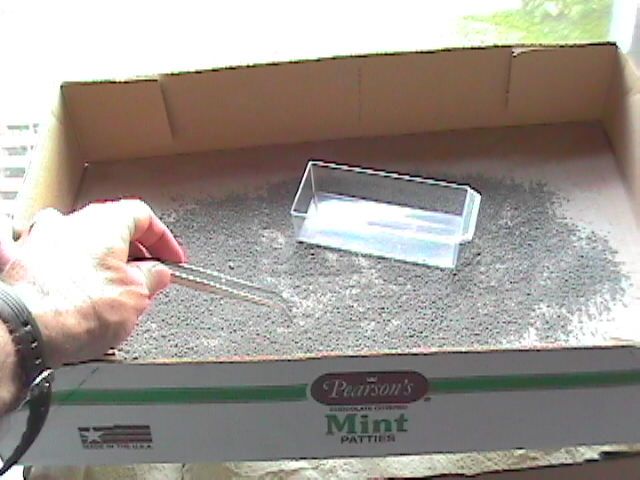
Next, dump the sandy material onto a cardboard box top. There are other items you can use, but I like cardboard box tops because they will help the drying process and give you an easy way to roll the dried material into sifters


Allow the material to sit and dry for a couple of days. I place my material on a
table under a window, where the sunlight does the work.
I use a "dry sifting" process. Some people sift the material while wet. Dry is better for me because microfossils love to stick to wet surfaces, and I don't want to loose these guys.
The purpose of sifting the sand is to remove the larger objects that are not candidates to be microfossils. This makes it easier to search through. I also use the strainer to separate the finest, dusty sediment from the larger microfossils, so that I can have an easier time finding those nice big Scolecodonts and larger Ostracods.
I choose several sized kitchen strainers for my sifting. On some jobs, I use four different strainers with different size holes. On most microfossil hunts, though, I stick to a trusty two strainers.

The larger strainer has larger holes that keep the items too big to be
microfossils and let all microfossil candidates fall through.
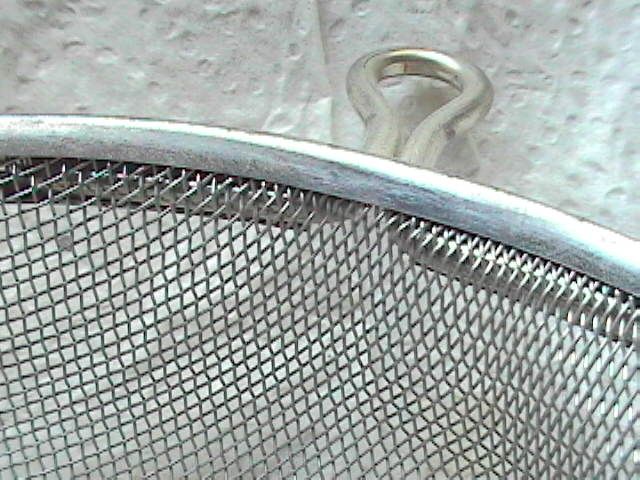
The smaller strainer is the finest of metal mesh. It keeps the larger microfossils and lets the fine dust through, which contains the Conodonts and smaller varieties of Ostracods. I shop the stores to locate the finest mesh and upgrade when I find one better than what I am using.

Now scrape the dried material from the cardboard box top into the largest
strainer, choosing some container without holes in it to catch the finer
material.

Put the course material in your big strainer into a bag and label it with all the site information. I invent a "Grain Number" that describes the size range of the material I am sifting.
If I use all four sifters, here are my grain numbers
When I only use two sifters for microfossils, I use sifters #3 and #4, and label the three bags, "Grains #1, 2 and 3", "Grain#4" and "Grain#5".
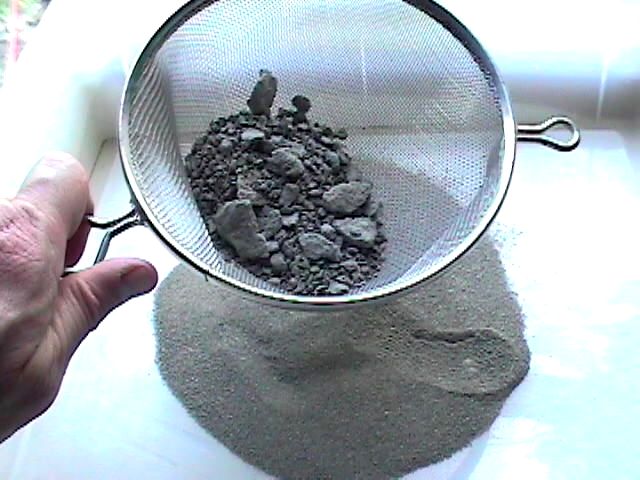
When the sifting is done and in separate bags, select a grain to search first and dump the bag contents into the box top. I use a tweezers purchased a "Jo-Anne Fabrics" (gives me something to shop for when I go with my wife, Pam, to the fabric store (yahn!).
I like to start with Grain#4. That has the "big game" of microfossils. You will need to find a small tray to place your microfossil finds. If you have a microscope, you may already have a set of clear trays you use to examine specimens. Spread out the material thinly, and use a hand lens to get close to the surface and poke around with your tweezers. Pictured below is my "Grain#4" from Brookville, Indiana.
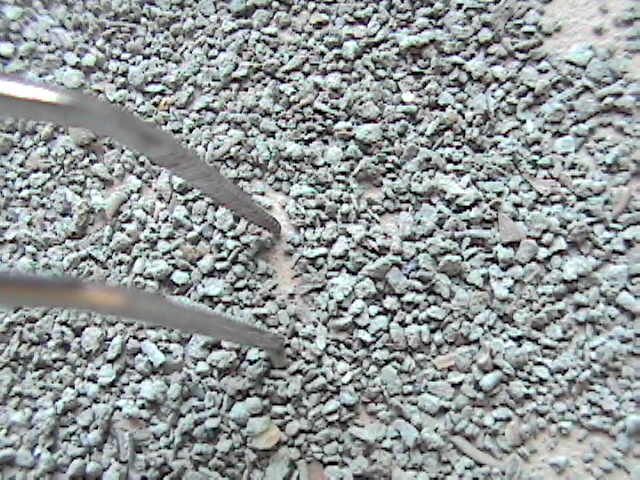
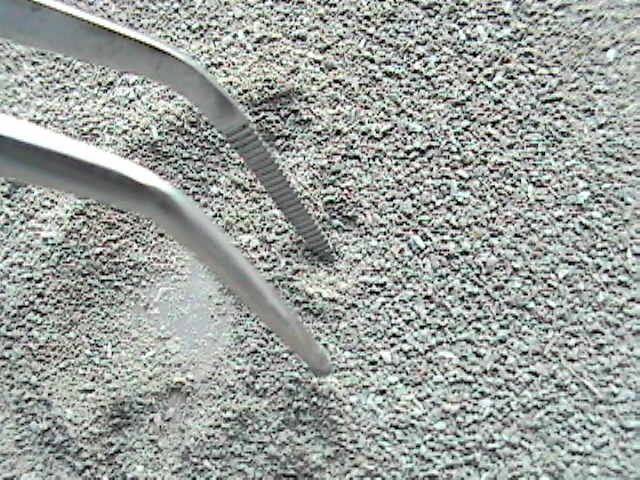
Be sure to roll the material around with your tweezers. Many Ostrocods only look like Ostrocods on one side. With Grain#4, I can usually pick out the microfossils by pinching it with my tweezers. With Grain#5 (shown below), I have to wet one prong of my tweezers and touch the specimen lightly and it will stick long enough for me to shake it into the specimen tray.

I store my microfossils in small ziploc bags and in glass vials. Be sure to label your microfossil bags and vials well with location and date info. If you did a good job, you kept the "spot number" you assigned and were able to put the spot number on the vial and kept a description of where the spot is located.
Hope this helps.
Bill Heimbrock
For more information on the microfossils of the Arnheim formation, visit the
following Dry Dredgers pages.
Scolecodonts of the Cincinnatian, by Rich Fuchs
The Fossil Hash
Layers, by Bill Heimbrock
Next Page: Collecting at Site #2
Site 1: Collecting || Fossils Found || More Fossils Found || Microfossils Found || Collecting Microfossils
Site 2: Collecting || Fossils Found
Site 3: Collecting || Fossils Found
Back to Dry Dredgers Home Page
The Dry Dredgers and individual contributors reserve the
rights to all information, images, and content presented here. Permission to
reproduce in any fashion, must be requested in writing to admin@drydredgers.org.
www.drydredgers.org is designed and maintained by Bill Heimbrock.